![[DoRoyal] Logo](https://cdn.doroyal.com/2026/10/DoRoyal-logo-smooth-navy.png)
How to Create a Staging Site Without Risk
A plugin update looks harmless until it conflicts with your theme, breaks a checkout page, or changes a form that has been collecting leads for years. Knowing how to create a staging site gives you a safe place to find those problems before your customers do. It is one of the simplest habits that separates careful site management from hoping the Update button works out.
What a staging site actually does
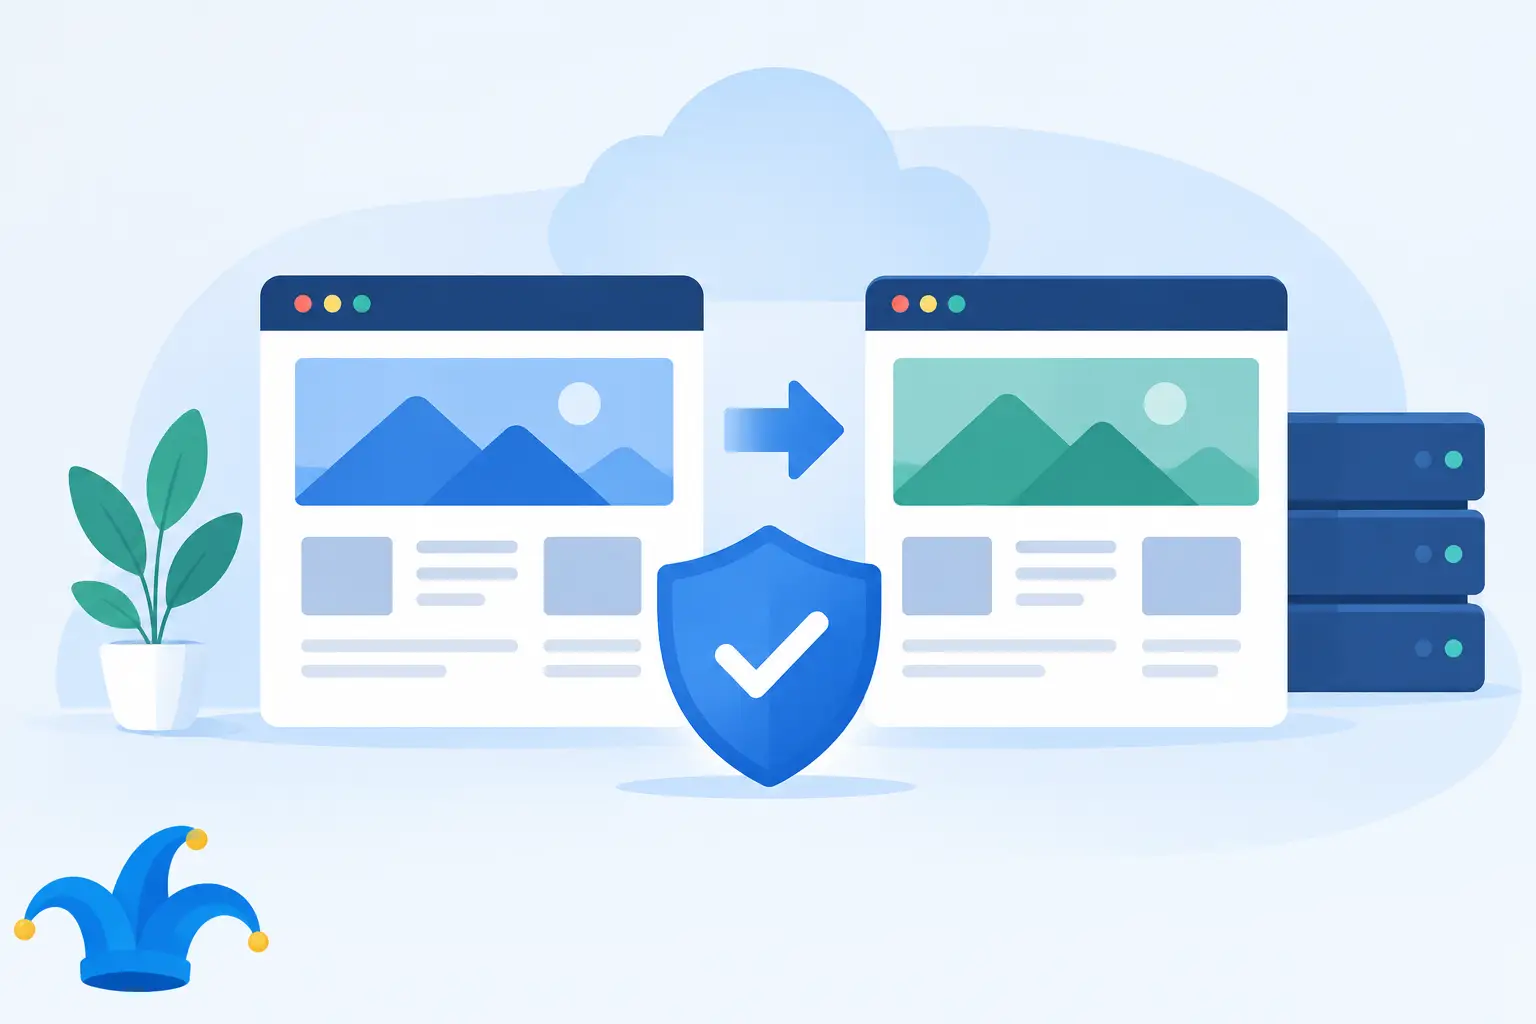
A staging site is a private copy of your live website. It uses the same files, database content, theme, plugins, and settings as the public version, but it sits on a separate address or subdomain. You can update WordPress, change code, redesign pages, and test new features without altering the site visitors see.
It is not the same as a backup. A backup is a recovery point you restore after something goes wrong. Staging is a working environment where you try changes before they reach production. You should use both. A staging copy reduces the chance of a bad change, while a current backup gives you a way back if a deployment or server issue still goes sideways.
For a simple brochure site, staging may be most useful before major plugin, theme, or WordPress core updates. For an online store, membership site, or business site that relies on forms and booking tools, it should be part of every meaningful change.
Choose the right way to create a staging site
The best method depends on your hosting plan, control panel, and how much control you need. Most WordPress owners should start with a host-provided staging tool when one is available. It usually copies the site, handles the database connection, and offers a clear way to push approved changes live.
A manual staging site gives developers more control. You create a subdomain, copy files, duplicate the database, and update configuration settings yourself. This is useful on unmanaged VPS hosting or when you need a custom workflow, but it leaves more room for small mistakes.
A local development copy on your computer is another option. It is excellent for building features, working without an internet connection, or testing code before it reaches a server. However, local environments can behave differently from your live hosting environment. PHP versions, caching, email delivery, and server rules may not match. For final testing, a server-based staging site is the safer choice.
How to create a staging site with your hosting panel
Before copying anything, take a fresh backup of the live site. Confirm that the backup includes both website files and the database. If your host offers backups as a separate service, make sure you know where the restore point is and how long it will be retained.
Start with a clean copy of the live site
In your hosting control panel, look for a WordPress management area or a staging option. The wording differs between panels, but the process is usually similar: select the live WordPress installation, choose Create Staging, and pick a destination.
A staging destination might look like staging.yourdomain.com, dev.yourdomain.com, or a temporary address supplied by the host. Use a clear name that no visitor would confuse with the public site. Avoid placing staging inside the live site’s main directory unless your hosting documentation specifically recommends it.
The copy process should include the WordPress files and the database. If the tool asks whether to copy custom configuration files, include them unless you know they contain server-specific values that should stay on production. The goal is to reproduce the live environment closely enough that your tests mean something.
Protect it before you work on it
A staging site should not appear in search results or become a public duplicate of your website. Set the site to discourage search engine indexing in WordPress, then add password protection at the hosting level if your control panel supports it. Password protection is more dependable because it blocks visitors and crawlers before WordPress loads.
Also check the site’s URL settings after cloning. WordPress Address and Site Address should point to the staging address, not the live domain. A poor copy can send you back to production when you try to log in, or it can load images and scripts from the public site instead of the test copy.
If you use an SEO plugin, caching plugin, content delivery network, or security service, review its settings in staging. Clear caches after the copy. Turn off any feature that could publish sitemap changes, send marketing emails, or purge the cache for the live site.
Disable live actions that should not run in testing
This step matters most for active sites. A staging copy may inherit payment gateways, contact forms, automated emails, scheduled jobs, webhooks, inventory syncing, and third-party API connections. You do not want a test order to charge a card, a test form to enter your customer database, or a scheduled email to go to real subscribers.
Put payment services in test mode or disable them. Replace outgoing email with a safe testing address if possible. Pause marketing automations and check integrations such as accounting software, CRM platforms, booking systems, and shipping tools. For an e-commerce store, treat staging data as a snapshot, not a place to process real orders.
Test changes in a useful order
Once the staging site is ready, make one planned set of changes at a time. Updating every plugin, switching themes, and changing several settings together may be fast, but it makes troubleshooting slow when something breaks.
Start with core functionality. Open key pages on desktop and mobile, submit forms, use site search, test navigation, and review any member login or checkout path. Then look at the visual details: page layouts, images, fonts, menus, popups, and responsive spacing.
For WordPress updates, check the PHP error log if your hosting account provides one. A page can look normal while errors are accumulating in the background. Developers should also inspect the browser console for JavaScript errors and test the site while logged out, since cached and logged-in views often behave differently.
Keep a short record of what changed and what you tested. It does not need to be a formal release document. A note such as “updated WooCommerce and payment plugin, tested cart, coupon, tax, and test checkout” is enough to make the next decision clearer.
Move approved changes to the live site carefully
Pushing staging to live is where the trade-off becomes real. Replacing all files and the full database is straightforward for a low-traffic informational site. It can be risky for a store or membership site because the live database may now contain new orders, customer accounts, comments, form entries, or bookings that do not exist in the older staging copy.
For a content-only change, push only the files or pages involved when your staging tool allows selective deployment. For code changes, deploy files without overwriting the production database unless the database changes are required. If a plugin update includes database updates, schedule a brief maintenance window, take another fresh production backup, and make the database change with care.
After deployment, clear caches at every layer: WordPress cache, host cache, and any external cache service you use. Then test the same critical path on the live site. Check the homepage, a few important pages, contact forms, and checkout or login functions. Do this in an incognito browser window as well as your normal browser.
Keep staging current, but do not treat it as permanent
A staging copy becomes less useful as it gets older. If production has received new orders, content, accounts, or configuration changes over several weeks, a stale clone no longer represents the site you need to protect. Refresh staging from live before a significant project, then repeat the safety steps for search indexing, email, payments, and integrations.
When the work is finished, delete unused staging copies. They consume disk space, may contain customer data, and can become a security liability if forgotten. Keep the backup you need, not a collection of old test sites with outdated plugins and unknown access settings.
A practical hosting setup makes this workflow easier, whether you use a managed WordPress plan or manage the files yourself through DirectAdmin, cPanel, or an unmanaged VPS. The point is not to add process for its own sake. It is to make changes when you are ready, with a safe place to verify them first.
The next time an update prompt appears, resist the urge to click it on the live site just because it is small. Create or refresh staging, test the change, and let your visitors experience only the version you have already checked.